
 First stir up your dough (it will feel very oily, but that is normal), then roll into balls and place on your cookie sheet. For a regular size cookie put 12 to a sheet, but if you want them to be smaller, more like a button size, roll a ball that will fit into a lid of a water bottle. You should be able to fit several cookies on a sheet making them smaller.
 If you pull them out not quite baked all the way, they will finish baking on the sheet and will be nice and chewy, otherwise they will be a little more crisp on the edges.
 Using a straw, twist holes into the cookies. Do this while they are still warm or hot. It makes the hole punching much easier. Actually, when they cool off, you pretty much can't get the straw into the cookie. So, make sure you work quickly. : ) You may need to cut the end of your straw every now and then to keep it smaller and to keep a rounder hole. The hot pan will melt it and deform it as you are making the holes.

While the cookies are cooling, melt some white chocolate in a double boiler. When it is smooth you can add coloring. For this batch I tinted it a slight pink. Drop a small amount of melted chocolate on parchment paper, then take a cookie and carefully push the cookie down onto the chocolate, allowing the chocolate to squoosh up through the holes and out around the edges.
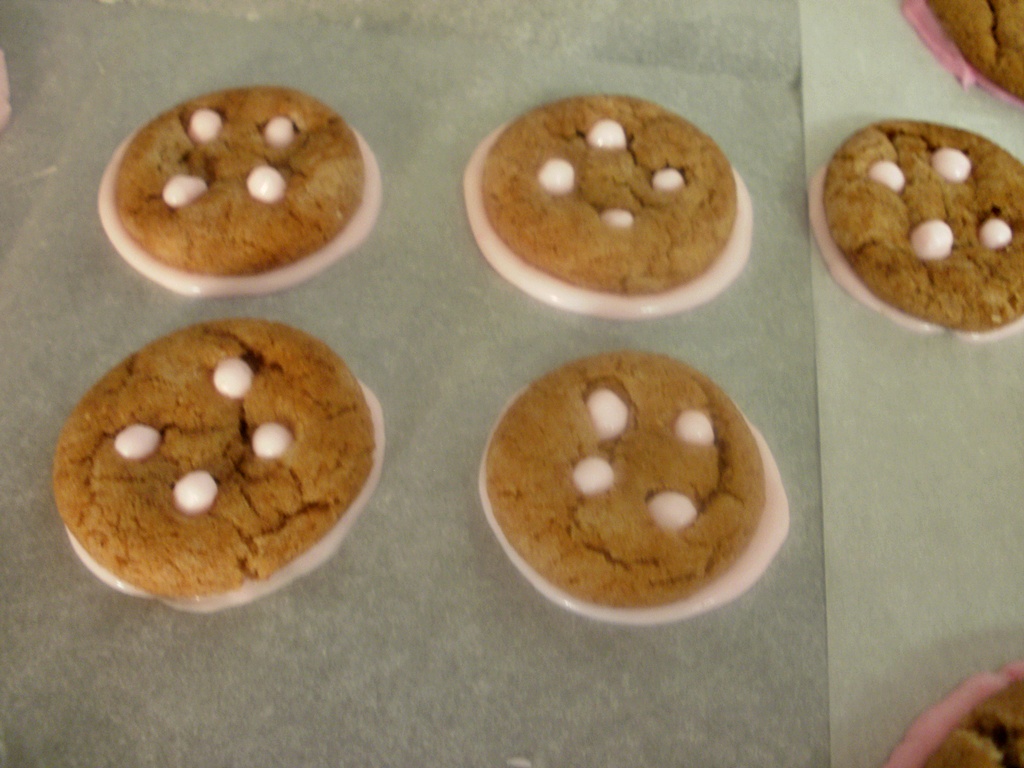 Look how cute those cookies are! And they are delicious too!
Now stir up a batch for yourself and let us know what you think!
Dipped Gingersnap Cookies
2 cups sugar
1 1/2 cups oil (you pick what kind you want to use)
2 eggs
4 cups flour (I actually do half all purpose and half whole wheat)
4 tsp. baking soda
2 tsp. cinnamon
1 tsp. salt
1 Tbl. ginger
1/2 cup molasses
~Combine sugar, oil, and eggs. Cream together. Then add the dry ingredients to your creamed mixture, stirring it all together. Lastly, add the molasses and stir all together. If you don't stir thoroughly it will leave your cookies looking marbled. So, if you want them a solid brownish color, stir the molasses in well.
~Roll into whatever size balls you want and place on a parchment covered cookie sheet.
~Bake in a 350 degree oven for 10-12 minutes.
~Follow the above instructions if you want buttons or polka dots of any kind. Or just wait til the cookies cool and dip half of the cookie into the melted white chocolate and place on parchment paper to cool and harden.
~This makes a big batch of cookies! Yields: Many! : )
No comments:
Post a Comment
Thanks for visiting our blog. We look forward to reading your comment.